Epic DIY Farmhouse Table (Easy Guide)
Imagine a cozy kitchen with a rustic dining table that’s both functional and stylish. You can make this look yourself, saving money and adding your personal touch. This guide will show you how to create a farmhouse table that’s both rustic and modern.
Thinking about a diy farmhouse table but not sure where to start? You’re not alone. Many homeowners want a rustic dining table but are worried about the complexity. This guide is for beginners, needing only basic tools and 8–10 hours. Costs are also low, averaging $150–$250 based on the wood you choose.
Why are farmhouse tables so popular? They mix simplicity with industrial looks, fitting well in busy homes. This guide will teach you to build your own table that’s both traditional and modern. We’ll avoid common mistakes like wobbly legs or uneven tops. Let’s dive into the secrets of this timeless design.
Table of Contents
Key Takeaways
- Beginner-friendly project with clear, step-by-step instructions.
- Cost-effective alternative to store-bought rustic dining tables.
- Learn to customize size and materials for your space.
- Avoid costly mistakes with expert tips on joints and finishes.
- Discover why farmhouse style remains a top choice for modern homes.
What Makes Farmhouse Tables So Popular
Farmhouse tables are loved in many homes across the U.S. They are stylish and practical. Let’s see why they’re so popular.
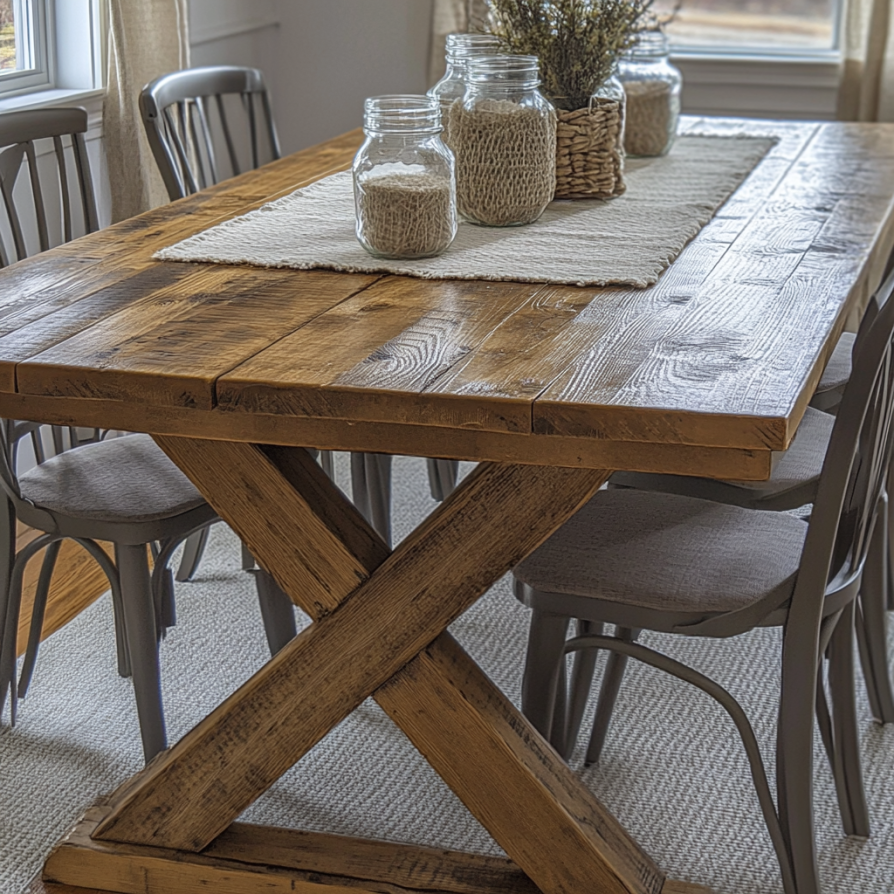
The Rustic Appeal of Farmhouse Style
Farmhouse tables are known for their rustic charm. They have a raw, unpolished look that adds warmth. Designers say they fit well with many styles, from farmhouse to minimalist.
As one expert put it, “A well-made farmhouse table feels like a living piece of art.”
Durability and Practicality Factors
- They’re made from solid wood like oak or pine, so they can withstand scratches and dents.
- Simple designs mean fewer joints to fail, ensuring they last longer.
- They’re easy to clean and maintain, making them perfect for everyday use.
Cost Benefits of DIY vs. Store-Bought
Building your own table can save you money. Cost benefits include:
- Buying raw materials costs 30–50% less than buying a pre-made table.
- Using farmhouse table plans helps you avoid extra fees from retailers.
- You can customize without extra costs add legs, stains, or extensions easily.
Whether you’re a beginner or experienced, these tables offer style, strength, and savings. They beat store-bought tables in many ways.
Tools You’ll Need for Your DIY Farmhouse Table Project
Before starting your how to build a farmhouse table project, make sure you have the right woodworking tools and DIY tools. You’ll need a drill, circular saw, and miter saw for cutting and drilling. For more precise work, use a tape measure, square, and hammer.
- Power Tools: A cordless drill is great for driving screws. A circular saw makes quick work of cutting lumber. A miter saw is essential for clean, angled cuts.
- Hand Tools: A measuring tape helps avoid mistakes. A framing square ensures 90-degree angles, and a claw hammer secures nails.
- Optional Tools: A Kreg pocket hole jig makes joining easier. An orbital sander smooths out surfaces before finishing.
- Safety Gear: Safety glasses, a dust mask, and work gloves protect you from debris and splinters.
“Invest in quality safety gear first it’s the foundation of a safe project.”
Beginners might want to rent tools like a miter saw if they’re only needed once. But, hand tools are worth buying for long-term use. A basic toolkit for how to build a farmhouse table can cost under $200 if you already have a drill. Keep your setup simple by focusing on tools for cutting, measuring, and assembling.
Essential Materials and Shopping List
Before you start your diy farmhouse table project, make sure you have all the materials. This guide will help you know what you need, from lumber to finishing supplies. This way, you can shop more efficiently.
Wood Selection Guide
Choosing the right wood is key. It should match your budget and style. Here are some options for lumber selection:
- Pine: Affordable, light color, good for painting
- Oak: Durable, classic grain pattern, mid-range cost
- Reclaimed Wood: Unique character, higher cost but adds vintage charm
- Maple: Hardwood with smooth finish, ideal for high-traffic areas
Look for straight, knot-free planks at home improvement stores like Home Depot. You can also find them online at Rockler Woodworking.
Hardware Components
Quality table hardware keeps your table sturdy. Make sure to include these essentials:
- Heavy-duty L-brackets (4–6 per table)
- Wood screws (2-inch galvanized for moisture resistance)
- Corner brackets for table legs
- Socket head screws for a sleek finish
Order online from FastenersInc or buy locally at Lowe’s. Add 10–15% extra hardware to avoid shortages.
Finishing Supplies
Finishing supplies protect and enhance your table’s look. Use these:
- Minwax wood conditioner to prevent uneven staining
- General Finishes gel stain for easy application
- Watco Danish oil for sealing raw wood
- Polycrylic topcoat for scratch resistance
Check local craft stores like Michaels for small items. Or order online from Amazon.
Planning Your Farmhouse Table Dimensions
Getting the size right is key to a functional design. Proper table dimensions and a clear cutting list turn your vision into reality. This section breaks down how to plan measurements that fit your space and needs.
Standard Table Measurements
Start with these guidelines to ensure comfort and usability:
- Height: 30 inches matches standard chair height
- Width: 36–42 inches leaves room for arms and movement
- Seat spacing: 24–30 inches per person ensures comfort during meals
These numbers create a balance between style and practicality, so stick close to them.
Custom Sizing for Your Space
Adjust standards to fit your room with these steps:
- Measure the room’s length and width
- Leave 36 inches of space around the table for easy access
- Match the table’s scale to the room’s ceiling height and decor
A free worksheet (see resources) helps calculate optimal dimensions based on guest count and space.
Creating Your Cutting List
- List every part: tabletop, legs, aprons, and hardware
- Note lengths, widths, and quantities for each piece
- Include extra material for mistakes or adjustments
Double-check dimensions against your farmhouse table plans before cutting to avoid errors.
Step-by-Step Farmhouse Table Plans
Learning dining table plans means being precise in every step of table construction. This guide will walk you through each part of the build. It keeps your project on track with clear woodworking steps. Always wear goggles and secure workpieces before cutting for safety.
Building the Table Base
Cut four legs to your preferred height with a miter saw. Attach aprons horizontally between legs with pocket screws or mortise-and-tenon joints. This makes the base rigid. Use metal brackets to reinforce corners and check for wobble before moving on. A stable base prevents sagging later.
Constructing the Table Top
Edge-glue 1.5-inch thick planks using wood glue and bar clamps. Sand the joined surface smooth. Then, apply a pre-stain conditioner if staining. Use a router to create a eased edge or ogee profile for a finished look.
Attaching the Top to the Base
Position the top center over the base and secure with adjustable leg levelers. Use lag bolts with washers to fasten the aprons. Leave 1/8-inch clearance around edges for wood expansion. Tighten bolts gradually to avoid warping.
“Avoid over-tightening hardware wood needs room to breathe!”
How to Achieve the Perfect Distressed Finish
Adding a distressed finish turns your making a dining room table into a timeless rustic piece. This method looks like natural aging but needs precision. Start by picking a wood like pine or oak, then follow these steps:
- Base Stain Application: Apply a base stain in your chosen color. Let it dry completely before distressing.
- Choose Your Method: Use a wire brush to gently scrape edges, or tap lightly with a hammer to create dents. For deeper marks, drag a chain across the surface.
- Highlight Details: Focus on high-traffic areas like corners or table edges. Avoid over-sanding the center of the tabletop.
- Seal the Look: Apply a protective wood finishing sealant like polyurethane after distressing to lock in the aged effect.

| Technique | Tools | Effect |
|---|---|---|
| Wire Brush | Wire brush, sandpaper | Subtle surface texture |
| Hammer Dents | Ball-peen hammer | Localized dents and marks |
| Chain Dragging | Heavy chain | Long, linear scratches |
Try glazes between stain layers for depth. Remember, a light touch is key when wood finishing. Test techniques on scrap wood first to ensure consistency. Once you’re happy, seal with a matte or satin finish for lasting protection.
Advanced Techniques for DIY Farmhouse Table Builders
Want to improve your how to build a farmhouse table skills? Learn advanced woodworking methods. These techniques make your table stronger and more unique, ideal for those with experience.
Adding Breadboard Ends
Breadboard ends stop wood from expanding too much. Attach pre-cut planks to the ends of the table using pocket screws or biscuits. This keeps the wood moving naturally while keeping it aligned.
Creating Custom Joinery
Learn to make joints like mortise and tenon or floating tenons for strong connections. Use a Kreg Jig for precise dovetail joints in decorative spots. These skills boost your advanced woodworking abilities and make your table last longer.
Installing Extension Options
Add table extensions to make your table more useful. Use butterfly hinges or slide mechanisms for easy expansion. Include alignment pins to keep the leaves in place when you’re using the table.
| Technique | Difficulty | Benefits |
|---|---|---|
| Breadboard Ends | Intermediate | Structural stability, rustic charm |
| Mortise & Tenon Joints | Advanced | Strength, professional finish |
| Table extensions | Intermediate | Space adaptability, versatility |
Begin with breadboard ends if you’re new to advanced woodworking. As you get better, try custom joints. Before you put everything together, test the extension mechanisms to make sure they work smoothly.
Common Mistakes to Avoid When Making a Dining Room Table
Making a diy farmhouse table needs careful attention. Spotting woodworking mistakes early can save you from expensive fixes later. Here are some tips to keep your project strong and looking good.
Structural Issues and How to Prevent Them
Weak joints or unstable legs can mess up your table. Here’s how to dodge these problems:
- Wobbly legs: Use lag bolts instead of screws for secure attachment.
- Uneven surfaces: Always level the base before attaching the tabletop.
- Wood movement: Leave 1/4″ expansion gaps between wood planks.
“A sturdy base starts with proper bracing,” says master carpenter Sarah Thompson. “Check joint angles twice.”
Finishing Errors That Ruin the Look
Flawed finishes can make your diy farmhouse table look bad. Here are common mistakes and how to fix them:
| Mistake | Why It Happens | Fix It |
|---|---|---|
| Uneven stain | Skipping pre-sanding | Sand wood smooth before staining |
| Peeling sealer | Applying coats too thickly | Use thin, even layers of polyurethane |
Regular table troubleshooting during each step helps catch issues early. Double-check hardware fits and test finishes in small areas first.
Farmhouse Table Variations and Design Ideas

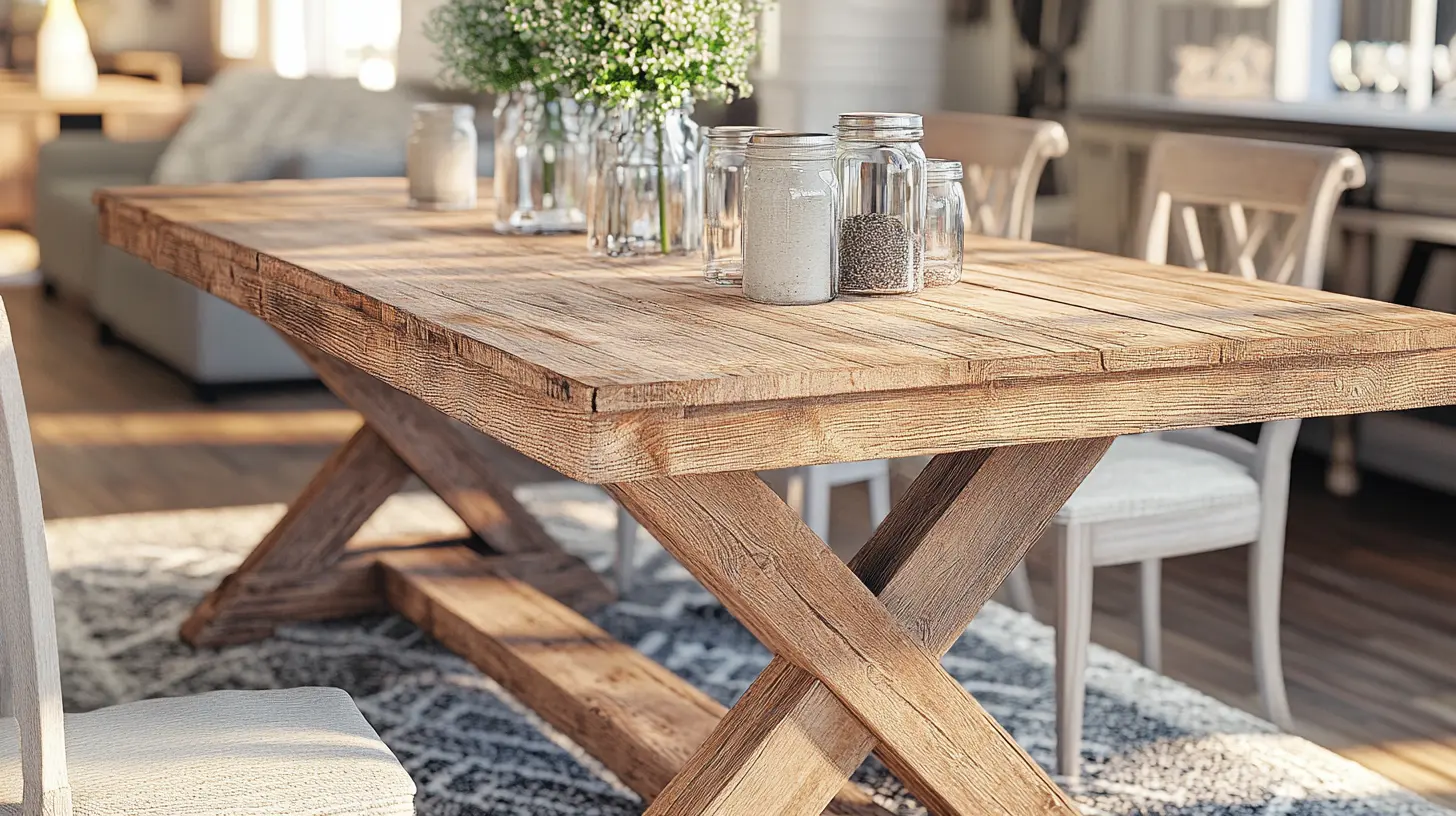
Explore new ideas for your farmhouse table. Whether it’s for a cozy kitchen or a big dining room, you can make it fit. Try rectangular styles with breadboard ends for a rustic look, or round tops for smaller spaces. Counter-height tables at 36 inches are perfect for casual dining.
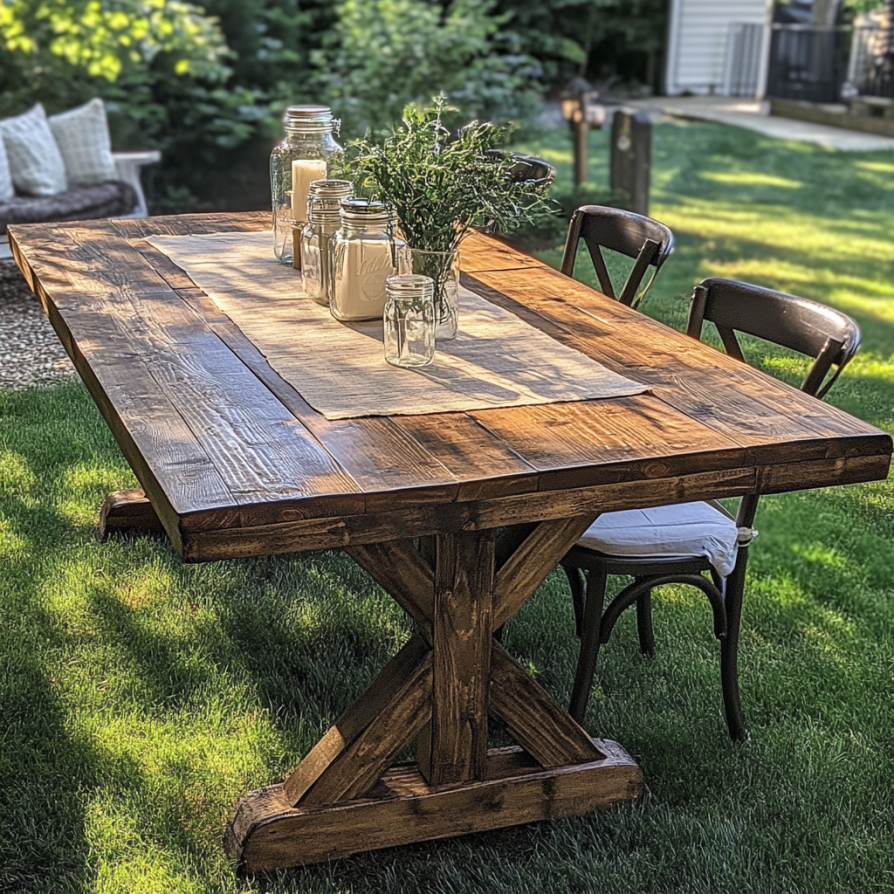
- Trestle bases add elegance with single or double supports.
- Industrial blends mix reclaimed wood with iron accents for a modern twist.
- Color finishes like whitewash or gray stain break from traditional wood tones.
Custom designs can include hidden drawers or rollout cutting boards. Add contrasting wood inlays or burnished edges for a unique touch. IKEA’s LACK table shows how simple tops can anchor eclectic styles. Beginners can start with pre-cut kits, while advanced builders might tackle live-edge slabs or tapered legs.
“The beauty of farmhouse tables is their adaptability,” says expert woodworker Sarah Thompson. “Mix materials and finishes to reflect your style.”
Adjust dimensions using the original cutting list just recalculate joints for round or oval shapes. Always check load-bearing limits when adding extensions. These table design variations show even small changes can make a big difference. Let your creativity shine while keeping safety and function in mind.
Caring for Your Handcrafted Farmhouse Table
Take good care of your handmade dining table to keep it looking great. Regular maintenance ensures your farmhouse table stays beautiful for many years. Here’s how to keep its rustic look and durability intact.
Daily Maintenance Tips
- Quickly clean spills with a soft cloth. Don’t use harsh sponges to avoid scratches.
- Clean with mild soap and water mixed with vinegar. Make sure to rinse the cloth before drying the wood.
- Use coasters under glasses and heat pads under hot dishes to protect against moisture and heat.
Seasonal Care Routines
Here’s a seasonal care guide for your wood table:
- Spring: Check for cracks or loose parts. Tighten screws and apply a thin mineral oil layer to sealed wood.
- Summer: Dust weekly with a microfiber cloth. Keep it away from direct sunlight to prevent fading.
- Fall: Use beeswax polish to add moisture back to the wood. Check for any gaps due to seasonal changes.
- Winter: Use a humidifier to keep humidity levels between 40-60%. Apply beeswax if needed for protection.
Refinishing Guidelines
For scratches or stains, follow these steps:
Tools needed:sandpaper, wood filler, stain, polyurethane, clean rags.
- Lightly sand uneven spots with 220-grit sandpaper.
- Fill deep scratches with wood filler, sanding it smooth once dry.
- Apply stain in thin, even layers. Wait for each layer to dry before adding more.
- Seal with polyurethane for extra protection against daily wear.
Always test finishes on a hidden area first to avoid color mismatches.
Conclusion: Enjoying Your Beautiful DIY Farmhouse Table
Your farmhouse table is a showcase of your skills. It combines usefulness with beauty, making it a place for meals and memories. By choosing the right plans, you’ve made a table that fits your home perfectly.
Building this table brought you joy with every step. Its rustic look shows your personal touch. Sharing your work online can inspire others and show the value of DIY projects.
Now, your table is the heart of your dining area. You might want to add benches or a hutch to make it even better. These pieces keep the rustic feel while adding more space or storage.
Your table is more than furniture; it’s a sign of your independence. Taking good care of it will keep it looking great for years. As it ages, it will become a family treasure, telling stories of your hard work and creativity.
FAQ
What wood should I use for my DIY farmhouse table?
For a dining room table, pine, oak, and maple are good choices. Pine is affordable, oak is durable, and maple has a fine grain. Reclaimed wood adds unique charm.
How much does it cost to build a farmhouse table?
Costs vary based on materials and where you buy them. On average, you’ll spend $100 to $500. This is less than buying a similar table from a store.
How long does it take to build a farmhouse table?
Building a DIY farmhouse table takes 1 to 3 days. This includes preparation, construction, and finishing.
Can I customize the dimensions of my farmhouse table?
Yes! You can adjust the size to fit your space. Remember, standard dining tables are about 30 inches high, 36-42 inches wide, and longer for more diners.
What tools do I need to build a farmhouse table?
You’ll need a drill, circular saw, and miter saw. Also, basic hand tools like a hammer, measuring tape, and square are helpful. Optional tools like a pocket hole jig or orbital sander can make it easier.
How can I achieve a distressed finish on my table?
To get a distressed look, use tools like hammers, chains, and wire brushes. Distressing before staining gives a more authentic look.
Are there common mistakes to avoid when making a dining room table?
Yes, avoid inadequate support, wrong joinery, and not considering wood movement. Proper measurements and joinery techniques prevent these issues.
Can I add extensions to my farmhouse table?
Yes, you can make an expandable table with removable leaves. There are several ways to install them, like slide mechanisms and alignment pins, for bigger gatherings.
How do I take care of my handcrafted farmhouse table?
Clean it regularly with the right products. Protect it from heat and moisture. Check it seasonally for loose fasteners. Refinish when needed.

