DIY Router Table Made Easy
Creating a custom router table can significantly enhance your woodworking projects by providing precision and versatility. This comprehensive guide will walk you through building your own router table from scratch, using readily available materials.
By following this step-by-step guide, you’ll be able to create a functional router table that meets your specific woodworking needs and workshop space requirements. The project is designed to be accessible for woodworkers of all skill levels, providing professional-quality results.
Having your own custom plans will expand your woodworking capabilities and precision. This guide covers everything from initial planning to final assembly, ensuring you have all the information needed.
Table of Contents
Key Takeaways
- Create a custom router table to enhance precision and versatility in your woodworking projects.
- Follow a comprehensive guide to build your router table from scratch.
- The project is accessible for woodworkers of all skill levels.
- Custom plans will significantly expand your woodworking capabilities.
- The guide covers initial planning to final assembly.
Why Build Your Own DIY Router Table
Creating your own router table is a rewarding project that offers numerous benefits. By building a custom router table, you can tailor it to your specific woodworking needs and workshop space.
Benefits of a Custom Router Table
A custom router table allows you to customize dimensions and features specifically for your workshop. This means you can incorporate exactly the features you need, creating a more efficient workspace. The benefits include:
- Customizing dimensions and features for your workshop space and woodworking needs.
- Incorporating exactly the features you need while eliminating those you don’t.
- Developing woodworking skills that transfer to other projects.
Cost Savings vs. Store-Bought Options
Building your own router table can result in significant cost savings compared to store-bought options. A DIY router table can be built for a fraction of the cost using basic materials and tools. This project not only saves you money but also provides a deeper understanding of how the tool works, leading to better usage and maintenance practices.
Materials and Tools You’ll Need
To start building your DIY router table, you’ll need to gather the necessary materials and tools. The project’s success relies heavily on the quality and appropriateness of these supplies.
Essential Materials List
The foundation of your DIY router table begins with a half sheet of 3/4-inch plywood measuring approximately 48 x 48 inches. This provides sufficient material for all the major components. You’ll also need various fasteners, including wood screws in different sizes (1-1/2 inch for assembly, 3/4 inch for brackets), 1-inch brackets, and 1/4-20 screws with wing nuts for the fence mechanism.
Required Tools
Essential tools for this project include a circular saw or table saw for cutting the plywood sheet to size, a drill for creating holes and driving screws, and of course, your router for creating slots and edges. Specialty bits like a 3/8-inch Forstner bit and a 1-3/4-inch hole saw will be necessary for creating precise openings for the router and accessories.
Optional Accessories
Additional supplies such as wood glue for reinforcing joints and furniture finishing wax for protecting the completed table will ensure durability and smooth operation. Optional accessories might include dust collection components, additional router bits, or specialized jigs that enhance the functionality of your completed table. Different views and approaches to material selection can be considered based on your budget and the types of woodworking projects you typically undertake.
Planning Your DIY Router Table
To build a router table that enhances your woodworking experience, careful planning is essential. This involves considering several factors that will affect the functionality and usability of your DIY router table.
Determining the Right Size
Before cutting any materials, you should carefully consider the available space in your shop or garage to determine the optimal size for your router table. Standard router table dimensions typically range from 16 x 24 inches to 24 x 32 inches, but you should customize the size based on your specific workspace constraints and project needs.
| Dimension | Typical Range | Customization Consideration |
|---|---|---|
| Width | 16 to 24 inches | Available shop space |
| Length | 24 to 32 inches | Workflow and material handling |
| Height | Align with other work surfaces | Comfortable operation and extension table use |
Design Considerations
Your design should account for stability, accessibility to the router for bit changes, and adequate support for the materials you’ll be routing. Different views of your workshop space will help you determine the best location for your router table, considering factors like power access, dust collection, and workflow efficiency.
Workspace Preparation
Planning should include considerations for storage of router bits and accessories. You should also decide whether you need a permanent installation or a design that can be clamped to a workbench or sawhorses for flexible shop arrangements.
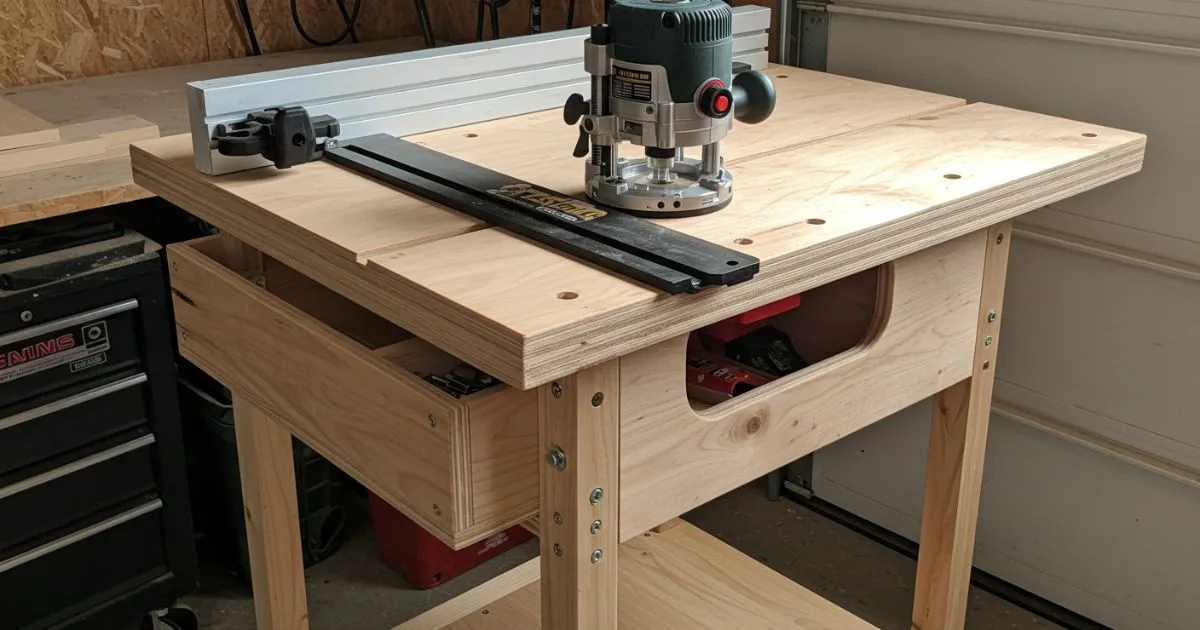
Building the Router Table Base
Building the base of your DIY router table involves several key steps that ensure stability and durability. To start, you’ll need to construct the sides of your router table from plywood, ensuring they’re cut to identical dimensions for a level and stable base.
Constructing the Table Sides
When building the sides, precision is key. Countersink the holes and install screws securing the bottom to the sides. Apply wood glue and use two to three screws in this location. As emphasized by woodworking experts, “A strong joint is the backbone of any woodworking project.”
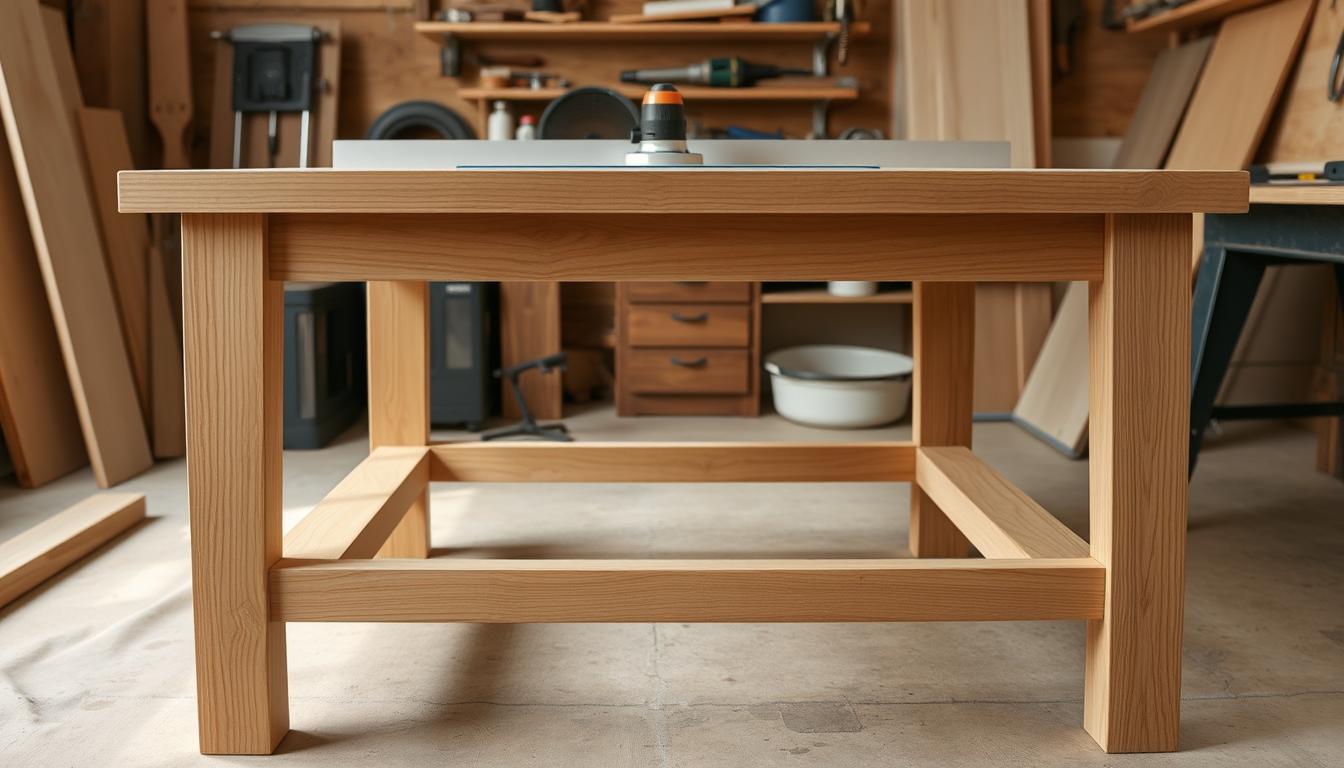
Assembling the Base Structure
The base assembly requires careful alignment of all parts. Use clamps to hold pieces in position while you mark and drill screw locations for a precise fit. Apply wood glue to the legs and line them up to the back, then clamp the parts. This step is crucial for the overall stability of your router table.
Adding Support and Stability
To enhance the stability of your router table, consider adding diagonal braces or stretchers between the legs. This will significantly reduce wobble during operation, ensuring smooth and accurate routing. As you build, think about the weight and vibration of your routing operations and reinforce the base as needed.
By following these steps and considering different views and approaches to the base design, you can create a sturdy and functional router table base that meets your specific woodworking needs.
Creating the Perfect Router Tabletop
Crafting the perfect router tabletop involves several critical steps that ensure a smooth and flat working surface. The tabletop is the most critical component of your router table, requiring careful preparation of the plywood to achieve a perfectly flat and smooth surface.
Preparing the Plywood Top
Begin by cutting your plywood to the desired dimensions. Consider applying edge banding or hardwood strips to protect the edges and improve durability. This step is crucial for creating a durable and long-lasting tabletop.
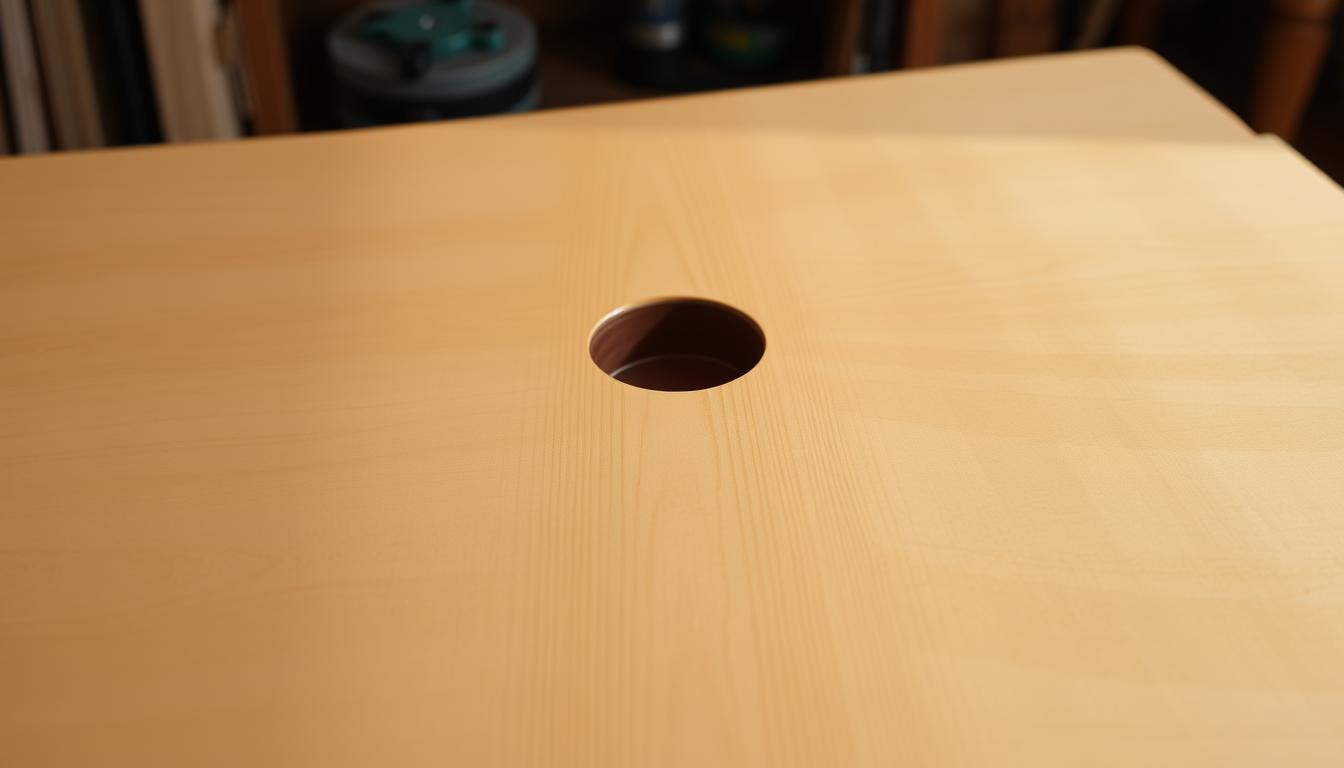
Installing the Router Plate
Installing the router plate requires precise measurement and cutting. Use your router‘s base plate as a template to mark the exact location and dimensions on the tabletop. When cutting the opening, make it slightly smaller than needed, then use a router with a flush trim bit to create the perfect recess for a level fit.
Routing Slots for the Fence
Creating slots for the fence attachment involves careful routing from the underside of the tabletop. Ensure the screws sit below the surface to avoid interference with workpieces. This process requires checking from multiple views to ensure accuracy.
Attaching the Tabletop to the Base
Attaching the top to the base requires careful alignment and secure fastening using brackets. You can also consider gluing these parts for additional stability. Take your time during this step to ensure a sturdy assembly.
| Component | Purpose | Considerations |
|---|---|---|
| Plywood Top | Provides a flat working surface | Edge banding or hardwood strips for durability |
| Router Plate | Mounts the router | Precise measurement and cutting for a flush fit |
| Fence Slots | Allows for fence attachment | Careful routing to avoid interference |
| Tabletop Attachment | Secures the top to the base | Careful alignment and secure fastening |
Building an Effective Router Fence
The router fence is a critical component of your router table setup, providing guidance and support for your workpieces while maintaining safety during operation. To build an effective router fence, you need to consider several key factors.
Fence Construction Steps
Begin fence construction by cutting two pieces of plywood or solid wood to the length of your tabletop one taller piece for the front and one shorter for the back. The fence must be perfectly straight and square to the tabletop to ensure accurate cuts and profiles when routing.
Creating the Bit Opening
Creating the bit opening in your fence requires careful measurement and cutting to accommodate various bit sizes while minimizing the gap around the bit. For enhanced functionality, consider making your fence adjustable with an offset opening that can be closed down for smaller bits or opened wider for larger cutting operations.
Adding Dust Collection Features
Dust collection is an essential feature for any router fence incorporate a port at the back of the fence that connects to your shop vacuum system. Adding a dust collection chamber behind the bit opening dramatically improves collection efficiency by creating a path for dust and chips to be drawn away from your work.
By following these steps and considering the key factors, you can build a router fence that is both functional and precise, improving your overall routing experience.
Finishing and Using Your DIY Router Table
With your DIY router table now complete, it’s time to add the finishing touches. Apply a durable finish to protect the wood and create a smooth tabletop surface. Consider using paste wax or polyurethane to enhance the natural beauty of your router table. This final step ensures your DIY router table is ready for precise woodworking tasks.
Your new router table is now ready to use in your shop, offering improved precision and versatility for various projects.
If you need more details on building the ultimate router table, check out this incredible plan on Amazon!
FAQ
What is the ideal size for a router tabletop?
The ideal size for a router tabletop depends on your available shop space and the type of projects you plan to work on. A common size is around 24″ x 36″, but you can adjust it according to your needs.
What type of plywood is best suited for a router tabletop?
A 3/4″ thick, high-quality plywood such as Baltic birch or maple is recommended for a router tabletop due to its stability and durability.
How do I ensure my router fence is accurate and precise?
To ensure accuracy, use a precise measuring system when constructing your fence, and consider adding features like a dust collection system to keep your workspace clean.
Can I use a router table with different router sizes?
Yes, you can use a router table with different router sizes by installing a router plate that accommodates various router sizes or by using different router plates for different routers.
What are some common mistakes to avoid when building a router table?
Common mistakes to avoid include inadequate support for the tabletop, poor fence design, and insufficient dust collection features, which can lead to inaccurate cuts and a messy workspace.
How can I improve the stability of my router table?
You can improve the stability of your router table by using a sturdy base construction, adding support legs, or attaching the table to a workbench or floor.
What are some tips for working with a router table?
Tips for working with a router table include using proper safety equipment, keeping your workspace clean, and using a push stick or other safety devices when routing small pieces.